

How to connect an electric dog fence to a GPS training collar
Instead of trying to connect an electric dog fence to a GPS training collar by trial and error, check whether the manufacturer explicitly supports that exact combination, then configure and test each supported function separately. If compatibility is not documented, use the fence’s specified receiver and keep GPS tracking separate; this 2026 guide explains the checks, setup and off-dog tests.
- Electric dog fence GPS collar setup starts with documented compatibility, not a shared brand name.
- GPS tracking, remote training and electronic containment are different functions; one collar does not automatically provide all three.
- We recommend separate fence and GPS systems when the manufacturer does not document a supported connection.
- Test boundary operation off the dog, then use supervised, reward-based boundary training.
Why this matters
A GPS position on a map does not prove that a collar can receive an electronic fence signal. A wired fence uses its specified receiver to detect the boundary signal. A GPS tracker determines location; its location alerts do not automatically operate a separate fence receiver.
Start with our guide to electric dog fences for working dogs in Ireland if you have not chosen the containment system. Decide how you will secure the space before choosing extra electronics.
In Ireland, check gates, roadside access and neighbouring livestock before laying out a boundary. An electronic boundary is not a physical barrier. Keep the dog physically secure throughout installation and testing.
Before you start
- Gather the exact equipment details. Record the fence transmitter model, receiver model, GPS collar model and handheld or app details. Have their manuals, charged batteries and any required account access ready.
- Check compatibility before pairing. Find explicit manufacturer confirmation for the exact models and functions. The same brand, a Bluetooth connection or a successful GPS pairing does not establish fence compatibility.
- Prepare a safe test area. Keep the dog elsewhere during equipment tests. Have a suitable lead or harness, boundary markers and the manufacturer’s receiver test accessory if required. Never connect boundary wire to a GPS collar’s charging contacts.
Use the manual that matches your hardware and software during this 2026 setup. Button names and pairing sequences differ between systems, so follow the documented controls rather than instructions for a similar-looking collar.
Choose the supported connection
Identify what you want the equipment to do. Tracking, containment and remote cues are separate jobs, even when a device combines some of them.
| Configuration | Best for | Useful capability | Limitation | Setup decision |
|---|---|---|---|---|
| Wired fence with its specified receiver | A fixed boundary at home | Detects the installed boundary signal | Requires compatible fence hardware and boundary training | Configure independently unless integration is documented |
| GPS tracker alongside a fence receiver | Location monitoring as a separate function | Adds position information without changing the fence | Adds another device to charge and fit, where dual use is permitted | Keep the systems separate |
| Documented combined GPS and containment system | Owners wanting supported functions in one system | Uses the manufacturer’s intended containment workflow | Requires confirmation of the exact model’s features and site requirements | Follow its combined-system manual |
We recommend documented compatibility over a one-collar assumption. Combining equipment reduces clutter only when the manufacturer supports the combination. Separate systems are clearer to troubleshoot, but wearing multiple devices requires explicit fitting guidance.
Compatibility check
- Read the fence manual’s compatible receiver list. Match the complete model designation, not just the manufacturer’s name.
- Read the GPS collar manual’s function list. Establish whether it provides location tracking, remote training, containment or a documented combination.
- Confirm whether any connection is directly between devices or through a specified handheld or app. Do not assume that pairing with a phone creates a fence connection.
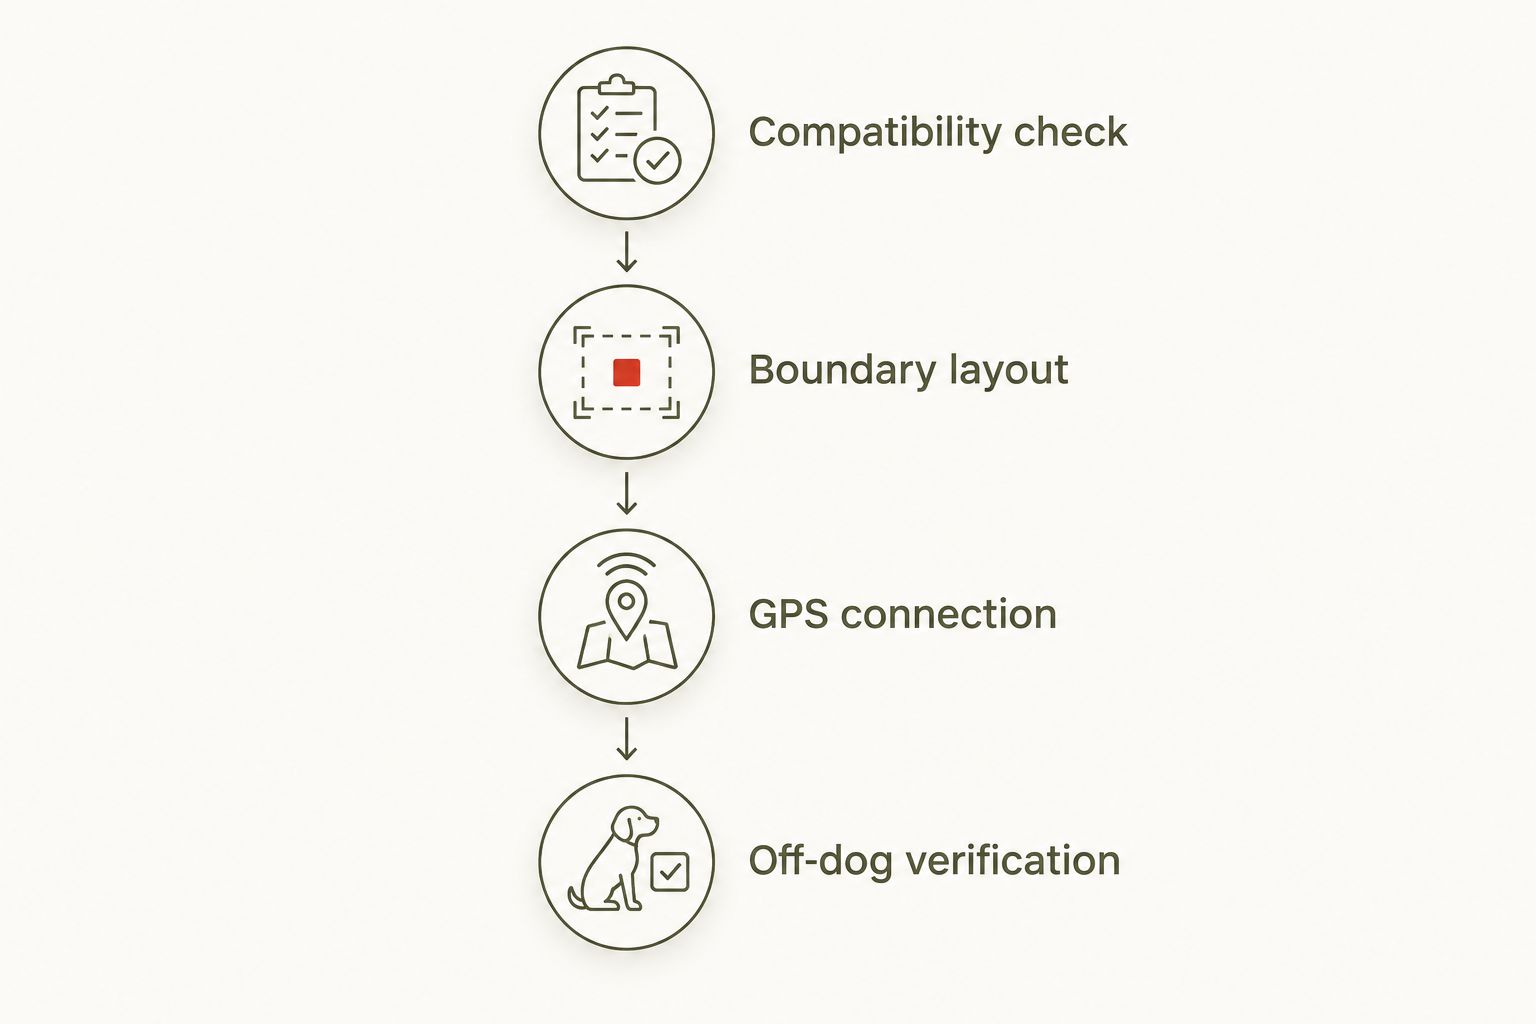
- Follow the supported branch. Continue with combined setup only where the documentation confirms it. Otherwise, configure the fence and GPS tracker independently.
Expected result: you can identify which receiver handles the boundary and which device reports location. If you cannot establish that from the manuals, stop and obtain model-specific confirmation.
Do not buy an extra receiver simply because it looks similar. A replacement strap, an additional-dog collar and a compatible containment receiver are not interchangeable descriptions.
Configure the fence boundary
Configure a wired fence using the transmitter, wire and receiver specified for that system. If your documented system creates its boundary using GPS instead, follow its boundary-creation instructions rather than adding antenna wire.
Boundary layout
- Sketch the permitted area. Mark gates, roads, water, buildings and any space the dog must not enter. Preserve a safe route for taking the dog out on a lead.
- Follow the fence manual’s layout rules. Check how the outgoing and returning wire runs must be arranged before installing anything permanently.
- Position the transmitter and power supply as the manual requires. Observe its instructions for shelter, electrical protection and wire routing.
- Install and connect the boundary wire using the specified terminals and suitable connectors. Keep installation work separate from the GPS collar and its charging equipment.
- Check the transmitter’s documented loop-status indication. Resolve any indicated break before testing the receiver.
Expected result: the transmitter reports the boundary circuit condition required by its manual. That confirms the circuit check, not the dog’s readiness to use the boundary.
For a 2026 installation, keep a sketch of the finished wire route with the manual. Include joins and gate crossings so later gardening or repair work does not become a guessing exercise.
A join must suit both the wire and the installation conditions. The supplied description for Dog Trace notch connectors specifies a wire cross-section of 0.75–2.5 mm²; that does not establish suitability for every fence installation.
Boundary markers
Place visible markers according to the system’s training instructions. Mark the boundary the dog must learn, not just a convenient garden edge. Keep markers consistent with the tested warning area.
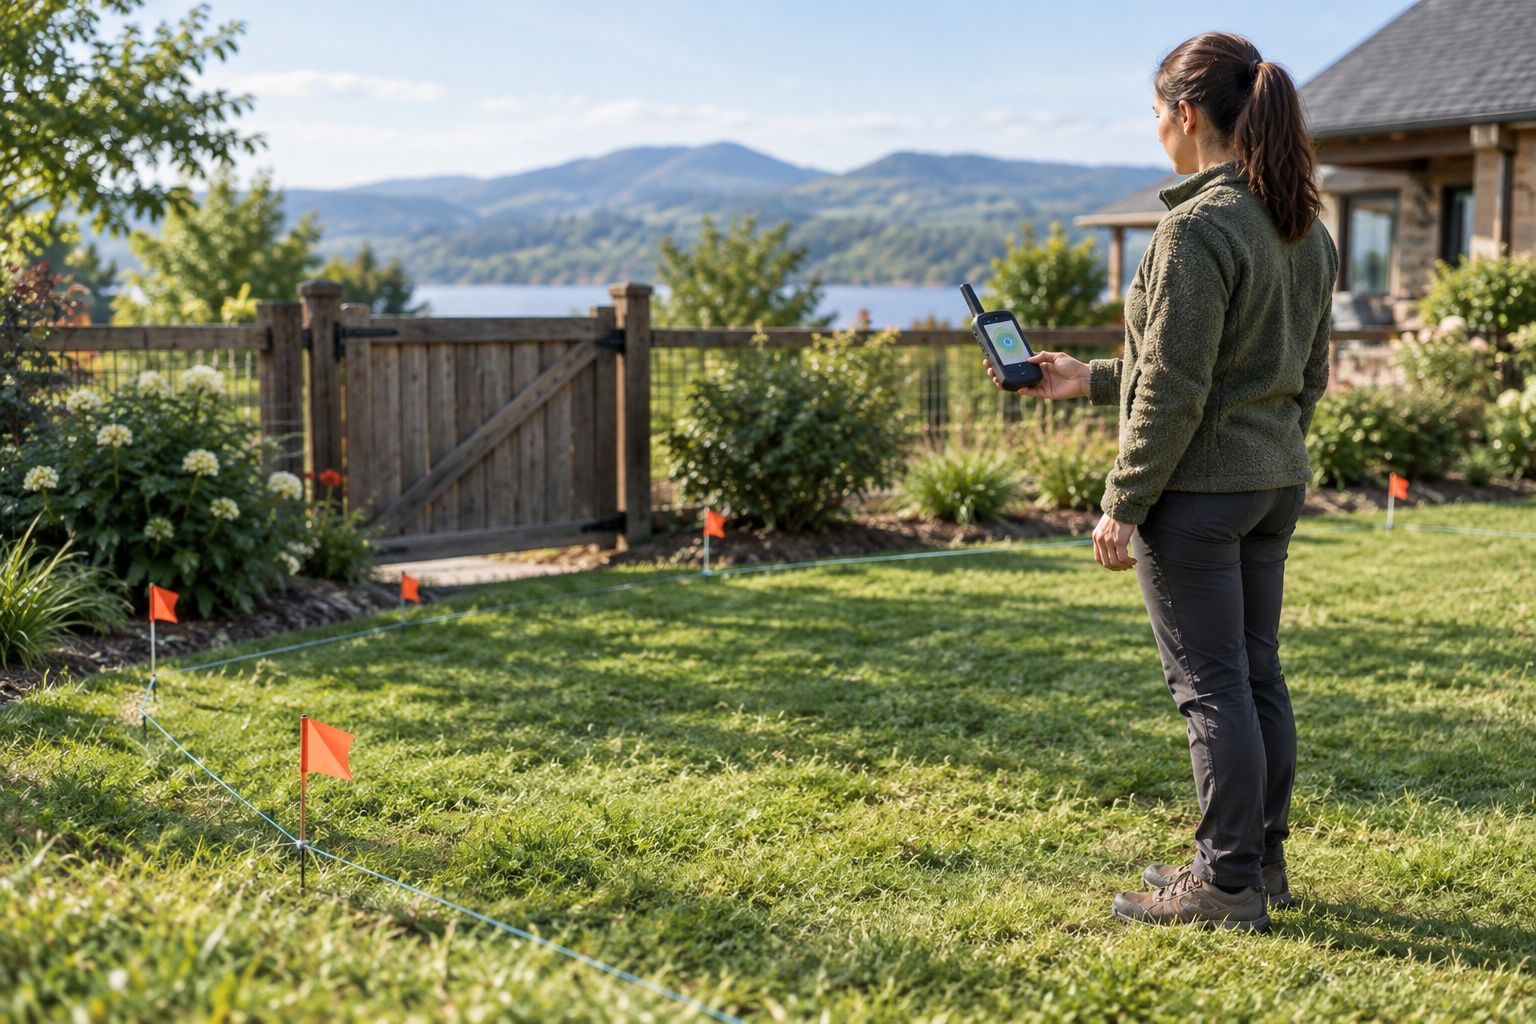
We have boundary accessories for different jobs: the connectors below join antenna wire, while the markers make a restricted area visible during training. Neither accessory connects a GPS tracker to a fence.
| Accessory | Best for | What it does | What it does not do |
|---|---|---|---|
| Dog Trace notch connectors | Suitable antenna-wire joins | Connects wire within the stated cross-section range | Does not establish GPS compatibility |
| Dog Trace plastic targets | Visible zone marking | Helps identify restricted areas | Does not create an electronic boundary |
The connector pack contains 4 pieces. The plastic target pack contains 8 pieces; choose the required quantity from the boundary layout and training instructions, not the pack count alone.


Configure GPS tracking and verification
Set up location reporting separately from boundary detection. A working map position proves only that the tracking function is reporting a location.
GPS connection
- Charge the GPS collar and its required handheld or phone. Check any account, service or activation requirements in the manual.
- Register or pair the exact collar using the manufacturer’s documented sequence. Confirm the collar identifier so you do not monitor another device by mistake.
- Take the tracker outdoors where it has a clear view of the sky. Wait for the location status specified by the manufacturer.
- Move the tracker while it is off the dog. Confirm that the displayed location updates and that the reported device is the one you are carrying.
- Configure a location alert only if the model supports it. Establish whether the alert notifies you or operates a documented containment function; do not treat those outcomes as equivalent.
Expected result: you can identify the tracker, see its reported location and explain what any configured alert actually does.
Off-dog verification
- Keep the dog physically secure elsewhere. Use the fence manual’s test method and accessory; never test stimulation against your skin.
- Approach the boundary with the fence receiver at the orientation and height specified in its manual. Check the intended warning area along the installed route.
- Check gates, corners and nearby wire runs. Correct unexpected responses before introducing the dog to the system.
- Follow the manuals’ restrictions on operating equipment together. If simultaneous use is permitted, check each function without assuming that success in one proves the other works.
- Record the tested layout and settings. Begin supervised, reward-based boundary training only after equipment checks pass.
Expected result: the fence responds where intended, location reporting works independently, and there are no unexplained responses. The dog still needs training and supervision.
For your 2026 setup record, note what each warning means and who receives it. A sound from a collar, an alert on a handheld and a phone notification require different responses.
Use GPS tracking alongside a separate fence
Separate systems do not need an invented connection. If the fence and GPS collar are not documented as compatible, let each perform its supported job.
Configure the fence with its specified receiver. Configure the GPS tracker with its specified handheld or app. Do not attempt to splice electronics, adapt charging sockets or use a remote-training command as an automatic boundary response.
Before fitting both devices, check both manufacturers’ instructions for simultaneous wear, positioning and contact-point clearance. Do not place one collar over another. If the permitted arrangement is unclear, stop and seek model-specific advice.
This approach adds charging and fitting checks. Its advantage is straightforward diagnosis: a tracking fault remains a tracking fault, rather than being mistaken for a fence failure.
A phone geofence, where supported, is a separate notification workflow. A phone alert does not physically contain a dog or prove that an electronic fence has activated.
Troubleshooting
The GPS collar will not pair with the fence
Check the exact compatibility lists first. If the models are not documented as compatible, stop repeating the pairing sequence. Use the specified fence receiver and configure GPS tracking separately.
The map updates, but the fence receiver does not respond
Treat these as separate checks. Verify the fence transmitter status, receiver power and documented receiver setup, then repeat the manual’s off-dog boundary test. A moving map marker is not a fence diagnostic.
The transmitter indicates a broken loop
Inspect the wire route and joins using the manufacturer’s fault-finding procedure. Isolate power before handling connections where the manual requires it. Do not bypass the fault indication and assume the boundary remains effective.
The GPS position wanders near buildings or trees
Retest outdoors with a clearer sky view. Buildings and tree cover can affect satellite reception. Do not compensate by placing a virtual boundary beside a road or other hazard; follow the system’s site requirements.
The receiver warns in an unexpected place
Remove the dog from the test area and recheck the wire layout, receiver settings and nearby boundary runs against the manual. Do not increase correction settings to mask an unexplained response. Resolve the cause before training resumes.
Customize your workflow
Use a short departure check: confirm charge, identify the correct dog on the display, inspect fit and decide who will act on an alert. Repeat the relevant equipment checks after moving a boundary, replacing a receiver or changing documented configuration settings.
For location monitoring beyond the garden, follow our dog GPS tracker to real-time phone tracking workflow. Keep that tracking workflow separate from containment unless the manufacturer explicitly combines them.
We recommend reward-based recall work alongside secure physical boundaries. Get qualified, reward-based training support if the dog shows fear, avoids the garden or reacts unpredictably around the equipment.
FAQ
Can I connect any GPS dog collar to an electric dog fence?
No. Connect a GPS collar to an electric fence only when the manufacturer explicitly documents compatibility between the exact models. Otherwise, use the fence’s specified receiver and keep GPS tracking separate.
Does a GPS training collar automatically work as a fence collar?
No. Location tracking, remote training and containment are separate functions. Check the exact model’s manual for the functions it supports.
Can I attach the boundary wire directly to the GPS collar?
No. Connect boundary wire only to the equipment and terminals specified by the fence manufacturer. Do not attach it to a GPS collar’s charging contacts or modify the collar.
Can my dog wear a fence receiver and a GPS tracker together?
Use both together only when the manufacturers’ fitting and operating instructions permit it. Check positioning and contact-point clearance; if the arrangement is unclear, obtain model-specific guidance before fitting either device together.
Does a phone geofence stop my dog leaving the garden?
A phone geofence alert does not physically stop a dog. Unless the exact system documents a containment function, treat the alert as a notification requiring action from you.
How do I test the fence without putting it on my dog?
Use the manufacturer’s off-dog test procedure and specified test accessory. Keep the dog elsewhere, check the intended boundary route and resolve unexpected responses before beginning training.
What should I check when buying equipment in 2026?
Check the exact model’s documented functions, receiver compatibility, fitting requirements and site restrictions. A shared brand name or GPS label does not establish an electric fence connection.
One last thing
Test the exit routine as carefully as the boundary. Decide how you will take the dog through the gate on a lead, following the manufacturer’s training instructions. A working boundary is not a complete setup until you have a calm, repeatable way to leave it.